Every spring I used to pull my winter sweaters out of the spare closet and find them smelling like a cedar chest mixed with old gym bag. I had been tossing them into plastic trash bags, which definitely kept them together but did exactly nothing to protect them from humidity or the random moth that found its way inside. I tried fabric storage bags one year. They collapsed. The zipper split on one before I even slid it under the bed. That was the last time I improvised my seasonal storage.
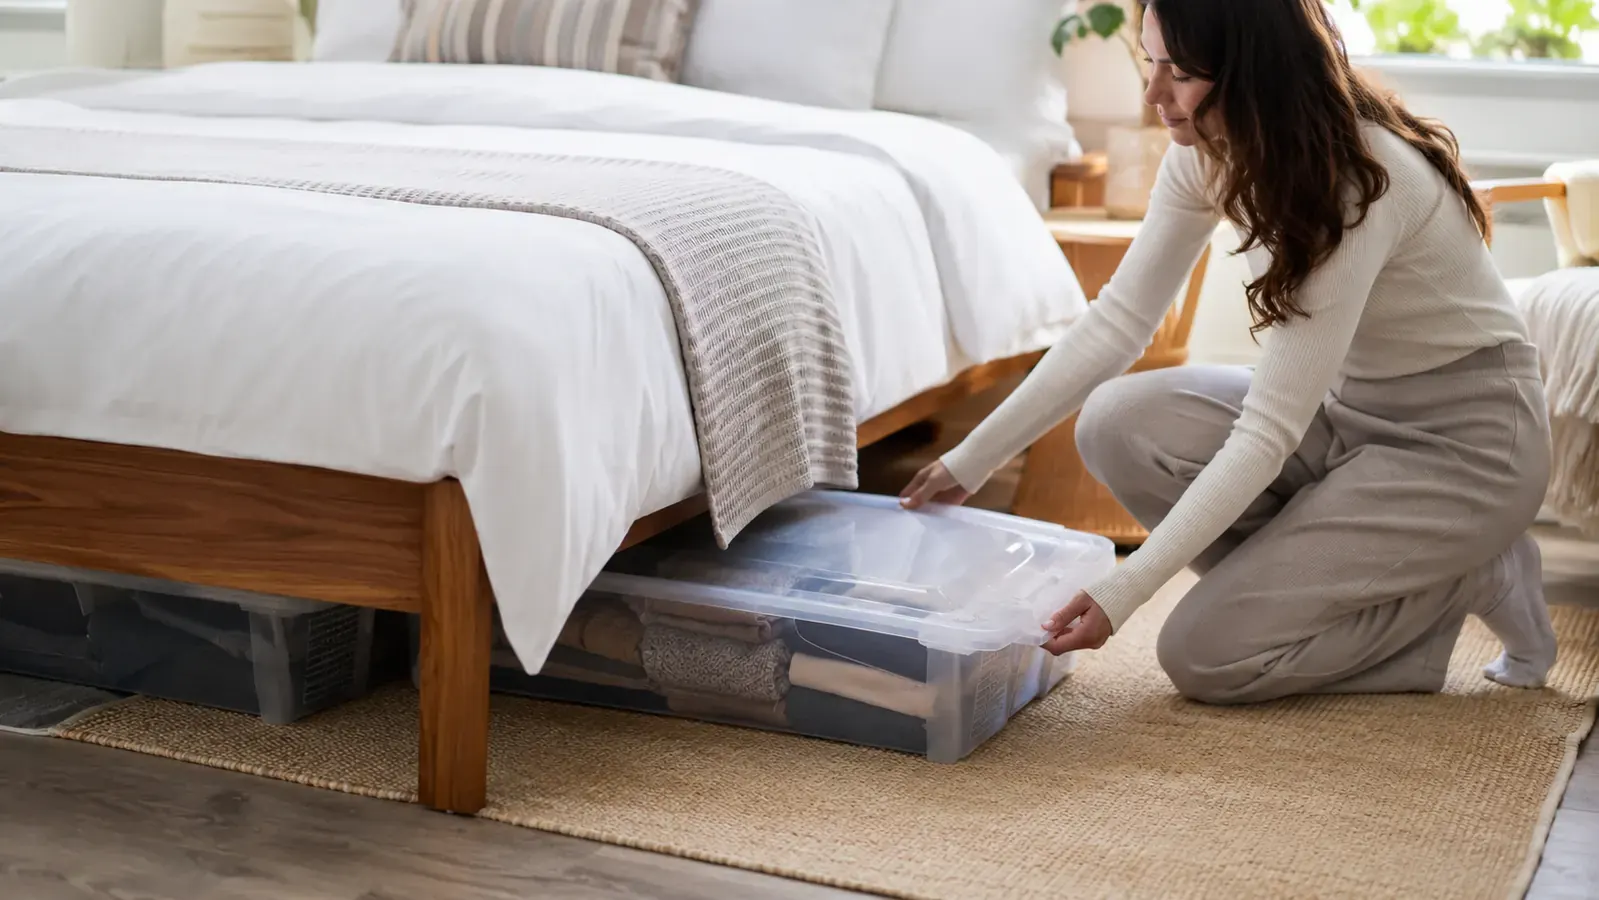
The fix that actually worked was switching to Sterilite 6-Pack Latching Boxes. These are hard-sided clear plastic bins with lids that snap shut on four sides, sized specifically to slide under a standard bed frame with a few inches to spare. They are not the cheapest option in the category, but after two full seasonal rotations I can tell you that what comes out in October smells exactly the same as what went in back in April. That is the whole point. This guide walks you through the exact process I use, including what to wash, how to fold for maximum capacity, how to label so you are not guessing six months later, and how to pest-proof so nothing shares the bin with your cashmere.
If your off-season clothes are crammed into bags or stacked on a shelf, you are one bin swap away from doubling your usable closet space.
The Sterilite 6-Pack Latching Boxes come in a set of six clear bins with secure snap lids. They fit under most standard bed frames, stack when you need them elsewhere, and seal tight enough that I have never pulled out a musty sweater. Check today's price and whether the set ships in your timeframe.
Amazon Check Today's Price on Amazon →Step 1: Audit What You Actually Wear Before You Pack Anything
Before a single item goes into a bin, do a ruthless audit. Pull every piece of off-season clothing out and put it in one pile. Then sort into three groups: keep, donate, and repair. The repair pile is the one people always skip, and it is a mistake. There is no point storing a wool coat with a broken zipper for six months only to pull it out and remember it still needs fixing. Send it to the tailor now so it comes back ready to wear.
The keep pile should only include things you actually reached for last season. If you bought a heavy cardigan in November and only wore it twice, ask yourself honestly whether you will wear it more next winter or whether it is just taking up bin space that better pieces deserve. Donating now means someone else gets use from it during the off-season rather than it sitting in a box under your bed for eight months.
Once your keep pile is settled, sort it loosely by category before moving to the next step. Think: sweaters together, jeans and heavier pants together, jackets and coats separate. This makes packing the bins go much faster, and it is how you will want to retrieve things when you unpack next season.
Step 2: Wash Everything Before It Goes In the Bin
This is the step that protects you from pests and odor more than anything else. Body oils, food residue, and even invisible sweat residue are what attract moths and silverfish. Clean fabric, sealed in a hard-sided bin, gives them nothing to work with. Every single item in your keep pile should be freshly washed before it goes into storage. No exceptions, not even for things that feel clean.
For delicates and wool, check the care label before throwing them in the machine. Many merino sweaters and cashmere pieces do fine with a gentle cold cycle in a mesh laundry bag, but some really do need hand washing. Either way, get it done before packing day. Let everything dry completely before folding. Damp fabric in a sealed bin is the only real enemy of the system I am describing. If something goes in even slightly damp, you will pull it out with mildew spots.
For items that cannot be easily washed, like a structured wool blazer or a down puffer coat, spot clean any visible marks and air the item out for 24 hours in a well-ventilated space before storage. A dry cleaning run is worth it for anything expensive. The storage system protects clean things; it does not clean things for you.
Step 3: Fold for Maximum Bin Capacity (The Method That Actually Works)
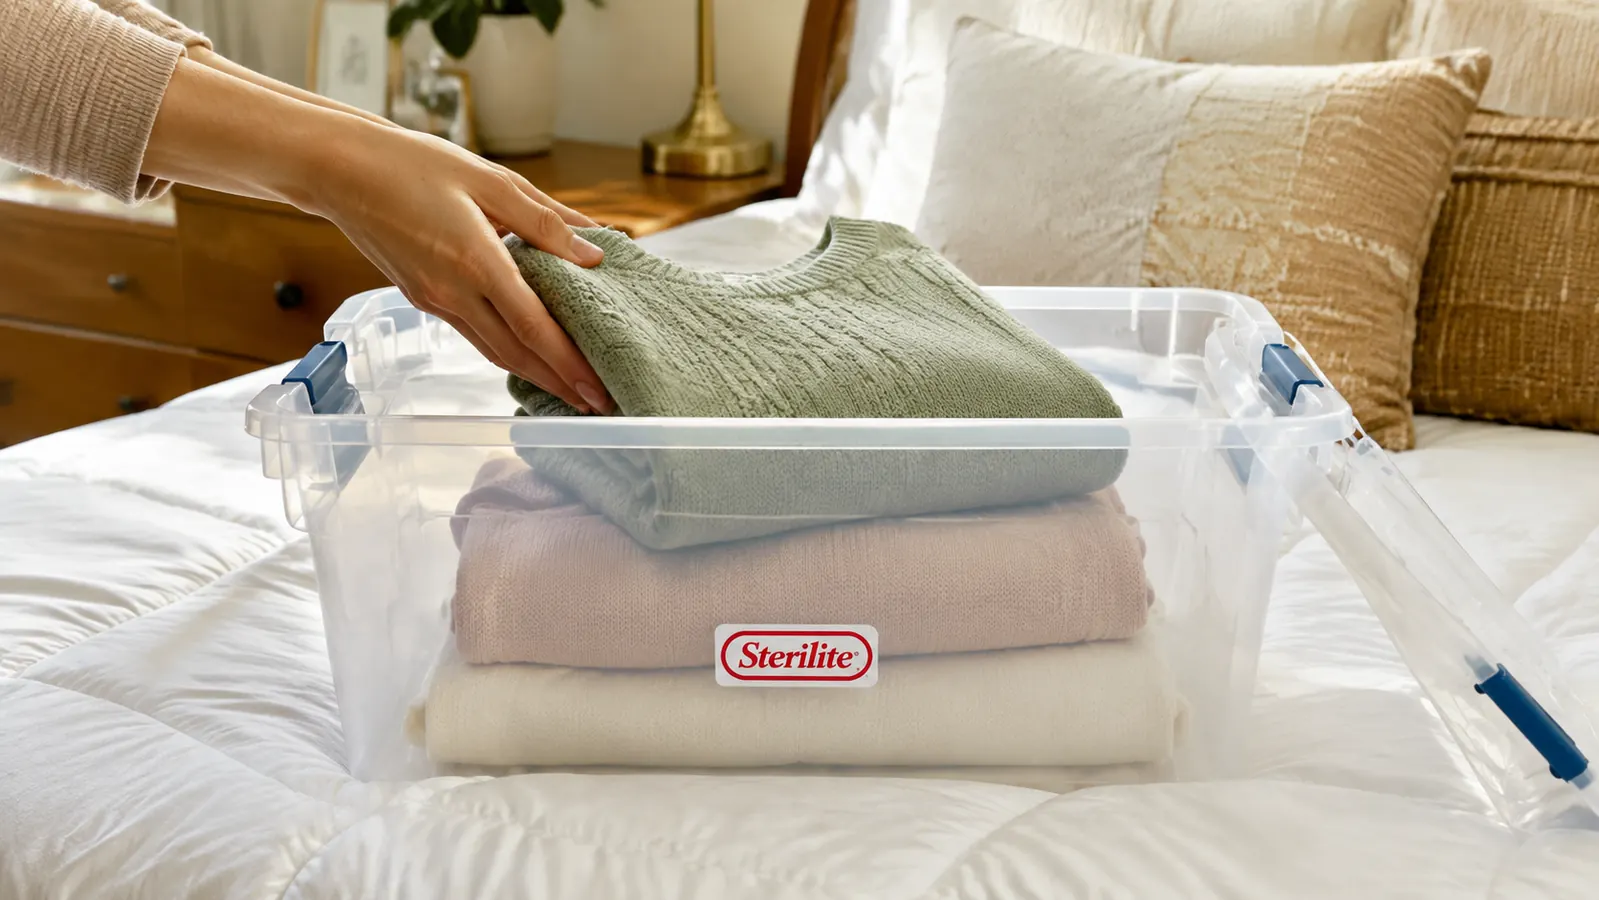
The way you fold determines how much you can fit in each bin without crushing anything. For sweaters and knits, use a flat fold, not a roll. Rolls work great for drawers where you are stacking vertically, but in a shallow under-bed bin you want flat layers you can see at a glance when you open the lid. Fold sweaters in thirds lengthwise, then fold in half. They stack cleanly this way and resist creasing better than if you fold them in a ball.
For jeans and heavier pants, fold them flat along the seam, then fold in thirds. These will go in the bottom layer of the bin because they are heavy and dense. Lighter items like t-shirts and thin long sleeves go on top. I can typically fit eight to ten sweaters in one Sterilite bin with room for a flat layer of lighter knits on top. The six-bin set, realistically, handles an entire off-season wardrobe for one adult.
The way you fold before storage is not about neatness. It is about being able to see what you have and pull out exactly what you want without unstacking the whole bin.
Coats and structured jackets are the exception to the flat fold rule. For anything with shoulder padding or a shaped collar, fold it carefully along the natural lines and place it in its own bin on top of the stack rather than cramming it under heavier items. One bin per coat family is ideal. It takes more space but saves you from re-ironing everything before you wear it.
Step 4: Add Pest Protection Before You Seal the Lid
Even in a hard-sided latching bin, I add a layer of pest deterrence as a backup. Cedar blocks or cedar sachets work well and smell pleasant when you open the bin next season. Place one or two in each bin before sealing. Cedar does not repel moths through some magical force; it simply creates an environment they prefer to avoid. If you have natural fiber items like wool or cashmere, cedar is worth using every single time.
Avoid mothballs. I know they work, but they leave an odor that transfers to fabric and is genuinely difficult to get out. You will spend two weeks airing your sweaters before you want to wear them, which defeats the whole purpose of having them ready to go when the temperature drops. Cedar sachets smell faintly of a nice wooden cabin. Mothballs smell like your grandmother's attic circa 1987. The choice is easy.
For anyone storing in a basement or a space with any humidity, toss a silica gel packet into each bin as well. These are the small packets you find in shoe boxes and vitamin bottles. You can buy them in bulk on Amazon for almost nothing, and they absorb the ambient moisture that would otherwise cause mildew even in a sealed bin. One standard 10-gram packet per bin is enough for most conditions. Two if you live somewhere like Florida or coastal Georgia.
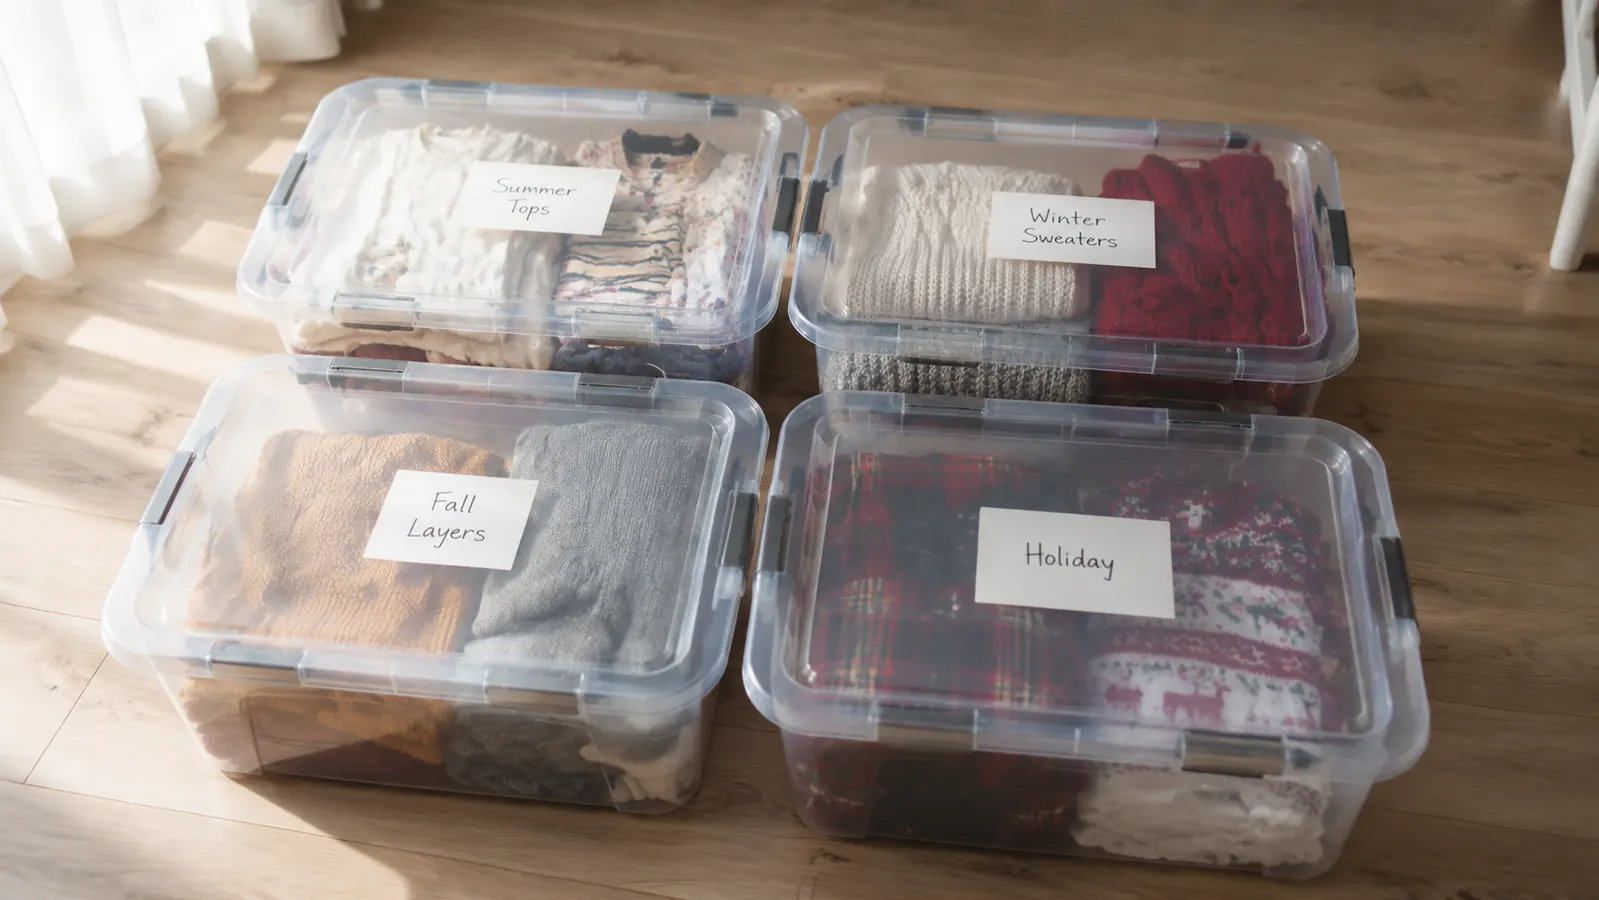
Step 5: Label Every Bin and Slide It Under the Bed With a System
The Sterilite boxes are clear, which helps, but clear only tells you so much from across the room. Proper labels tell you which bin to pull without dragging everything out. I use a label holder that slips into the front-facing corner of the lid, with a small index card inside listing the contents and the season. For example: 'Winter Sweaters, October-March.' You can also tape a folded index card directly to the lid if you prefer. Either way, the label faces out toward the foot of the bed so you can read it when you kneel down.
Arrange the bins with your most-needed seasonal items closest to the edge and the things you will not touch for the longest time pushed toward the wall. If you are storing summer clothes in October, push the summer bins to the back. Your winter coats and heavy sweaters come forward. When April arrives, you reverse the whole thing. This sounds obvious but it saves a genuine amount of fumbling around when you are doing your first swap of the season.
One more thing worth mentioning about the Sterilite bins specifically: the latches on the four sides of the lid actually hold. I have had other bins where the lid came open when I dragged the bin across the floor, sending a pile of sweaters sliding everywhere. The Sterilite latches stay closed during movement, which means you can slide a full bin from the back of the bed to the front without holding the lid on with your other hand.
What Else Helps
A few add-ons make the whole system work better. A low-profile rolling cart, the kind that slides under the bed on wheels, lets you pull out the back-row bins without getting on the floor. If your bed is on a higher frame, a simple furniture riser can add another two or three inches of clearance, which means you can stack two bins per column instead of one. And if you find yourself wanting to store more than your six bins can hold, it is almost always worth going through the audit in Step 1 again before buying more storage. The bins should hold what you use. They are not meant to be a warehouse for things you are keeping out of obligation. If it has not been worn in two full seasons, donate it and free the space for something that actually gets worn.
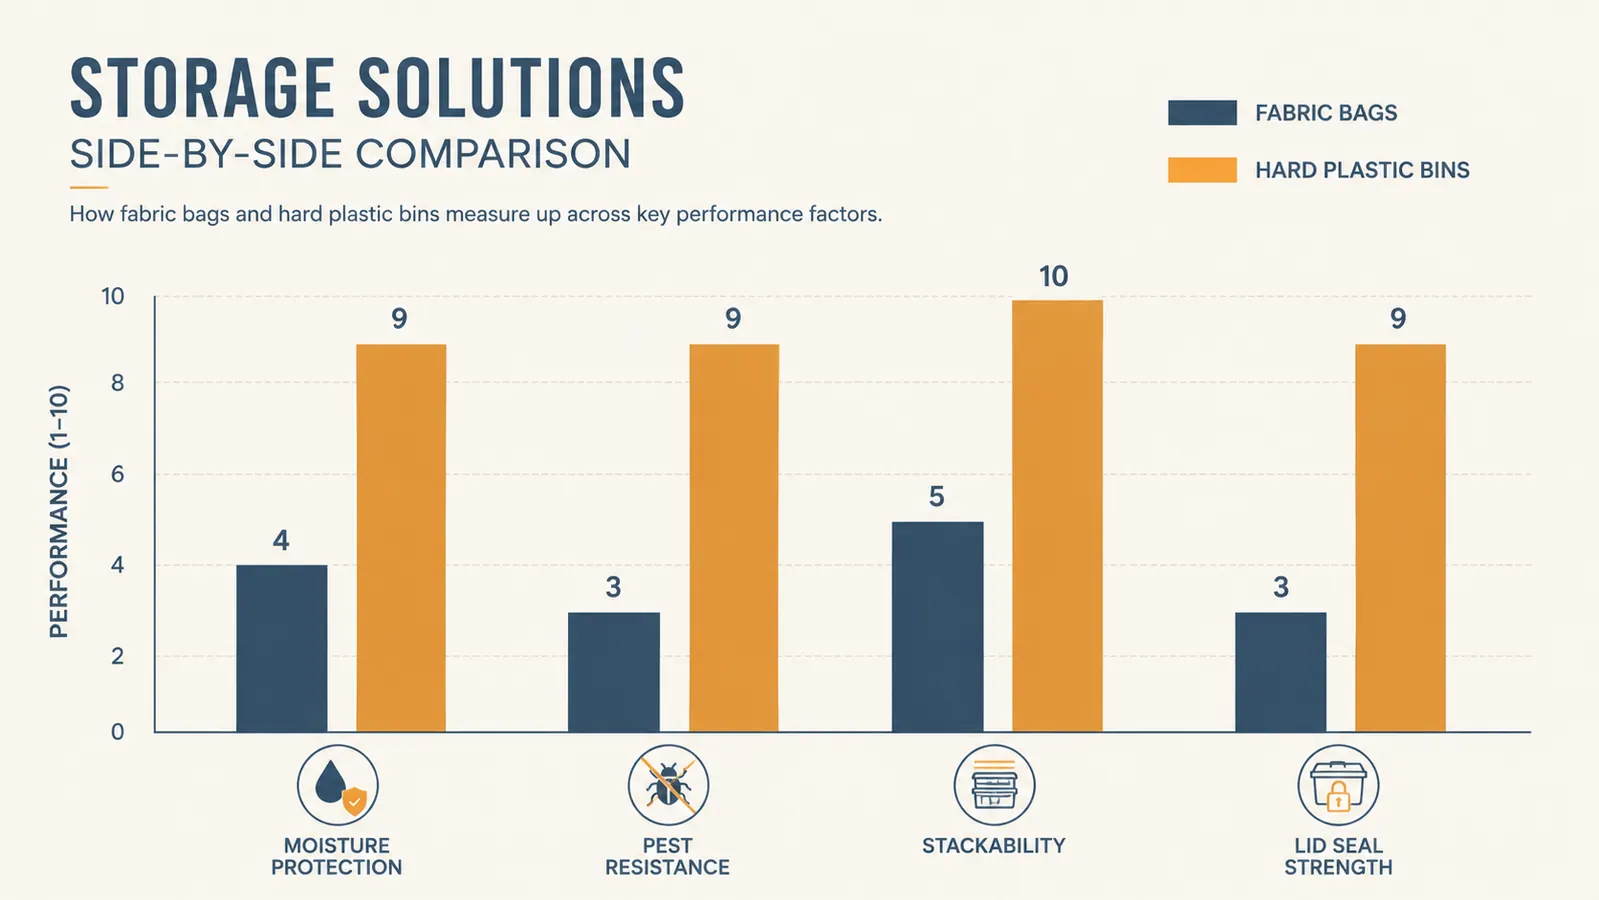
For related reading, take a look at the full Sterilite under-bed storage review to see how the bins hold up after a full season of use, including lid latch strength and clearance measurements for different bed frame heights. And if you are wondering whether you need bins at all or whether fabric bags would do the job, the comparison between Sterilite bins and fabric storage bags covers that in detail.
Your off-season clothes deserve better than a plastic garbage bag and a prayer.
The Sterilite 6-Pack Latching Boxes are sized to fit under a standard bed frame, clear enough to see what is inside, and sealed tightly enough that what goes in fresh comes out fresh six months later. Check today's price to see if the set is in stock.
Amazon Check Today's Price on Amazon →